Speed Champions

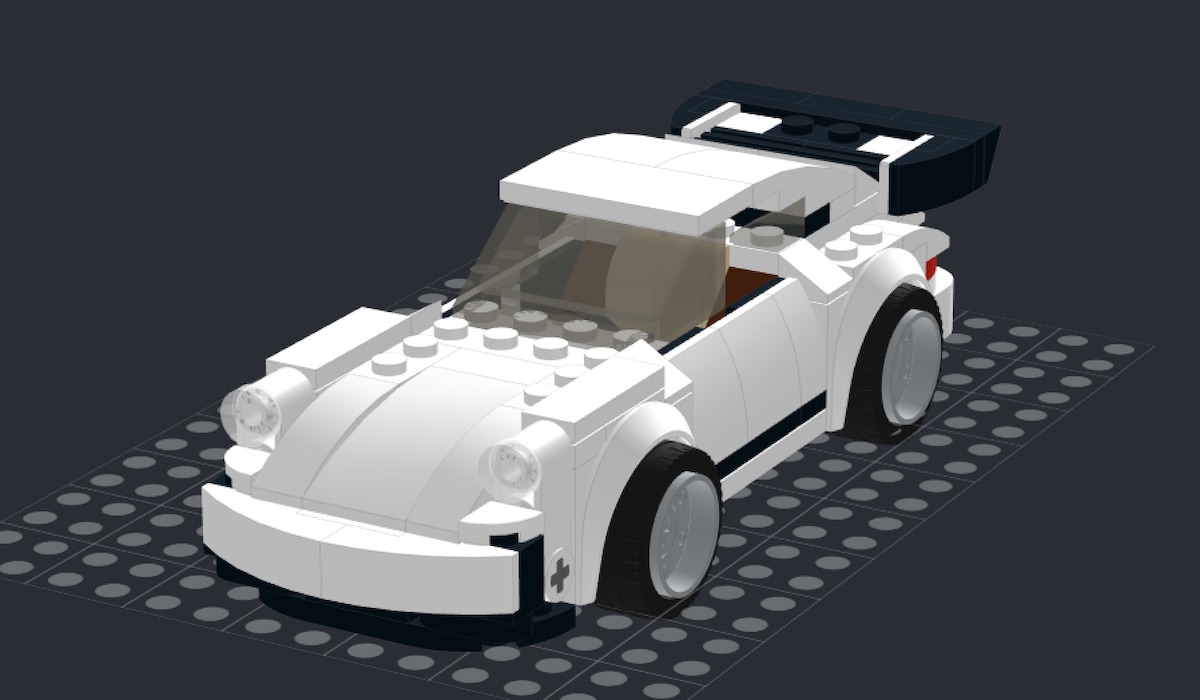
A virtual 3D view of the '74 Porsche 911 Turbo set 75895 in white in BrickLink Studio - the starting point for mods and customizations, and really not all that hard to build.
So, with the recent release of the single vehicle 1974 Porsche 911 Turbo 3.0 set that we know had the sticker sheet modified to have transparent backings to encourage MOC designers and customizations, it seemed like a good time to dive into the world of custom Speed Champions models and modifications.
The first problem you'll run into is that having access to a bunch of LEGO blocks isn't enough to start customizing Speed Champions sets. So much of the bodywork is made of small, angled, ramped pieces and different forms of wheel arches that to attempt to change colours or add features you'll either need a whole bunch of other Speed Champions sets you're willing to break for parts or access to a source of LEGO blocks. I actually tried using some leftover pieces from a broken 1968 Ford Mustang Fastback set in dark green to customize the white 911, but very quickly was missing different curved pieces and slopes to fit on the Porsche.
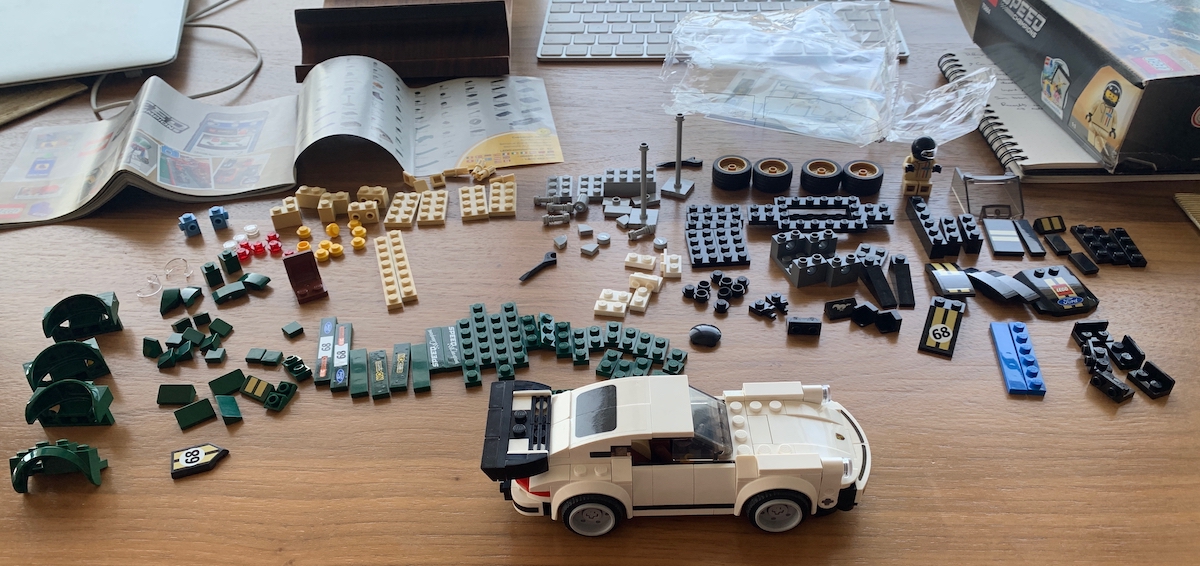
Trying (in vain) to customize the 911 Turbo using parts from a slightly broken '67 Mustang set we had around. Not much luck due to the different shapes in the model.
There are a couple of ways to get hold of LEGO parts in real life fit for Speed Champions MOCs: LEGO's Pick a Brick wall at their retail stores and online, Bricks and Pieces for ordering replacement parts for sets, and BrickLink, a third party service.
We decided to try out Studio from BrickLink to be able to build MOCs virtually. The first step was getting hold of a base model to mod. At the time, nobody had built the white '74 911 Turbo and saved it to the online library in Studio, and it seemed like a good challenge to build the model from scratch to get the hang of the program. We've also got an upcoming series on building a real-world colour change MOC of the Porsche 911 Turbo set 75895.
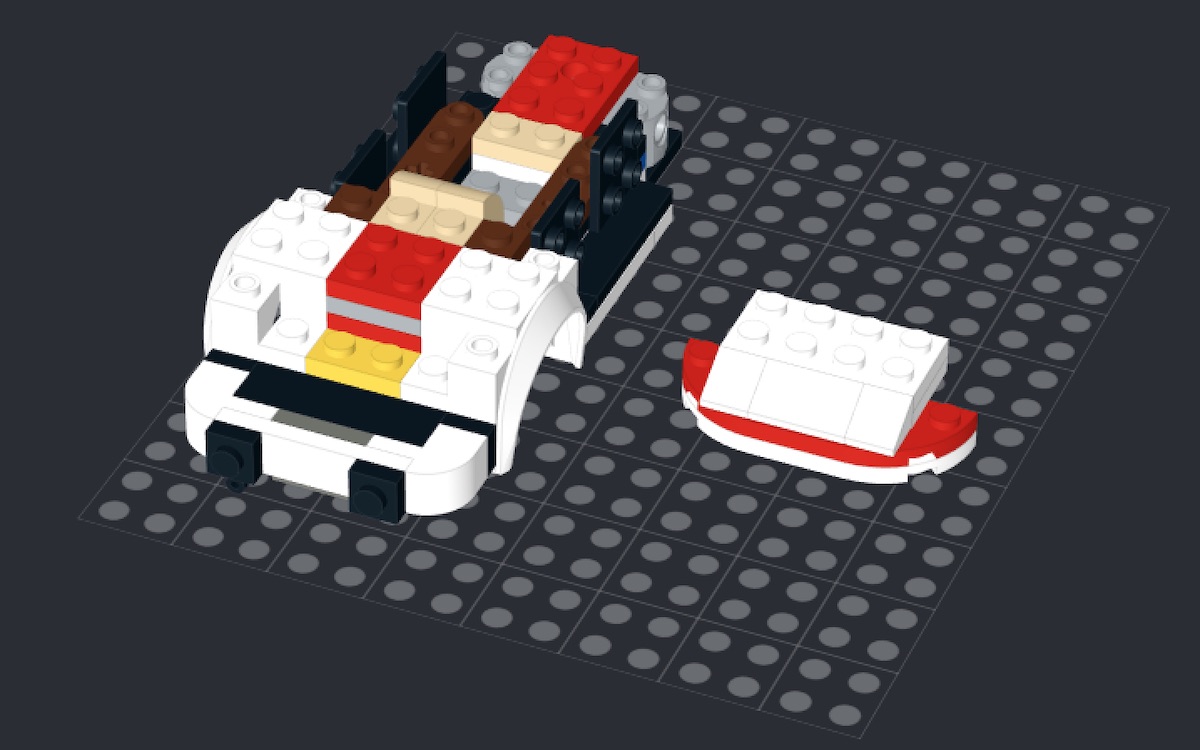
Building the Porsche 911 Turbo in Studio, here half complete with the chassis coming together. There's nothing unfamiliar here to the regular LEGO set builder. The 'Snap' option makes it straightforward to put the model together.
If you've never tried Studio out we'd really recommend it - it makes building straightforward. In around an hour and a half I'd built the entire white 911 virtually and was able to modify the set to try out different looks. A key feature of Studio is to disable/warn when using bricks in colours that they aren't actually available in - when you're thinking about MOC-ing a car into a different colour, you really want to know that all the key components you'll need are available in the right color (or at least what kind of alterations you'll need to make to accomodate)
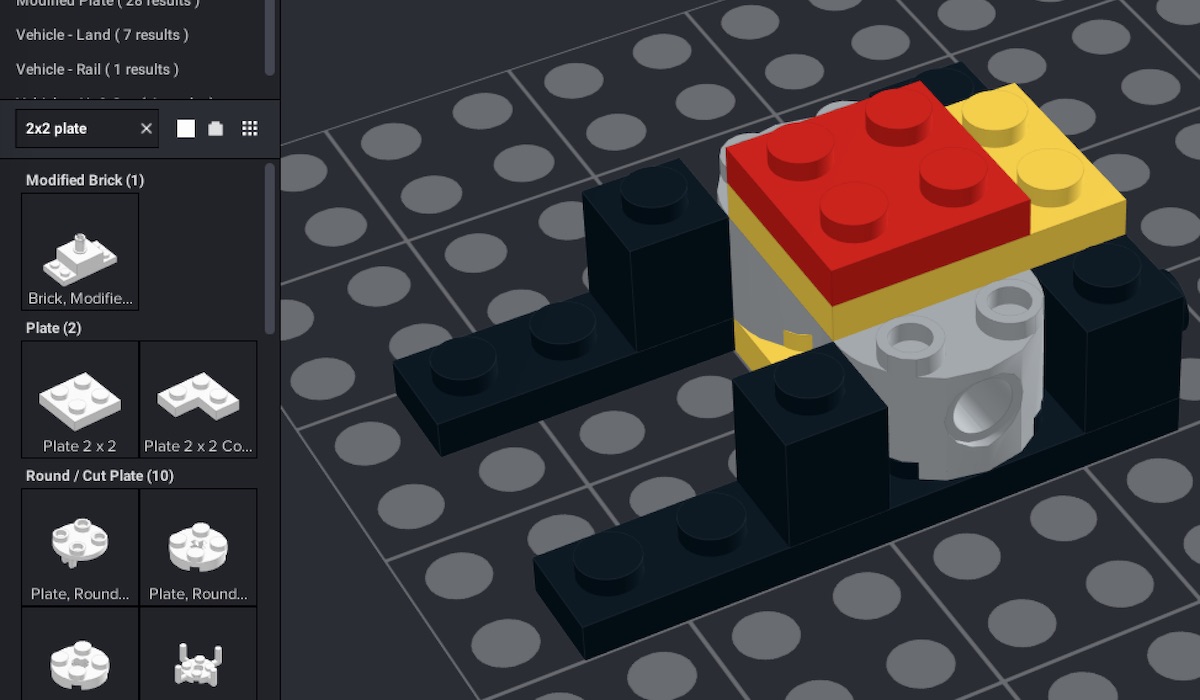
Finding the correct piece in Studio can be more difficult than it first appears, we've added some tips below from our first couple of days using the tool.
There are a few tricks to using Studio when trying to find the pieces you need to build with:
Putting wheels and tyres together in Studio can be difficult depending on how the model uses axles - for models that click the wheels into a single hole on each side, it's likely to be easier but the '74 911 Turbo uses axels that go through the model and bushes that mount on the outside of the wheels. The bushes and wheels specifically are very hard to line up on virtual models.
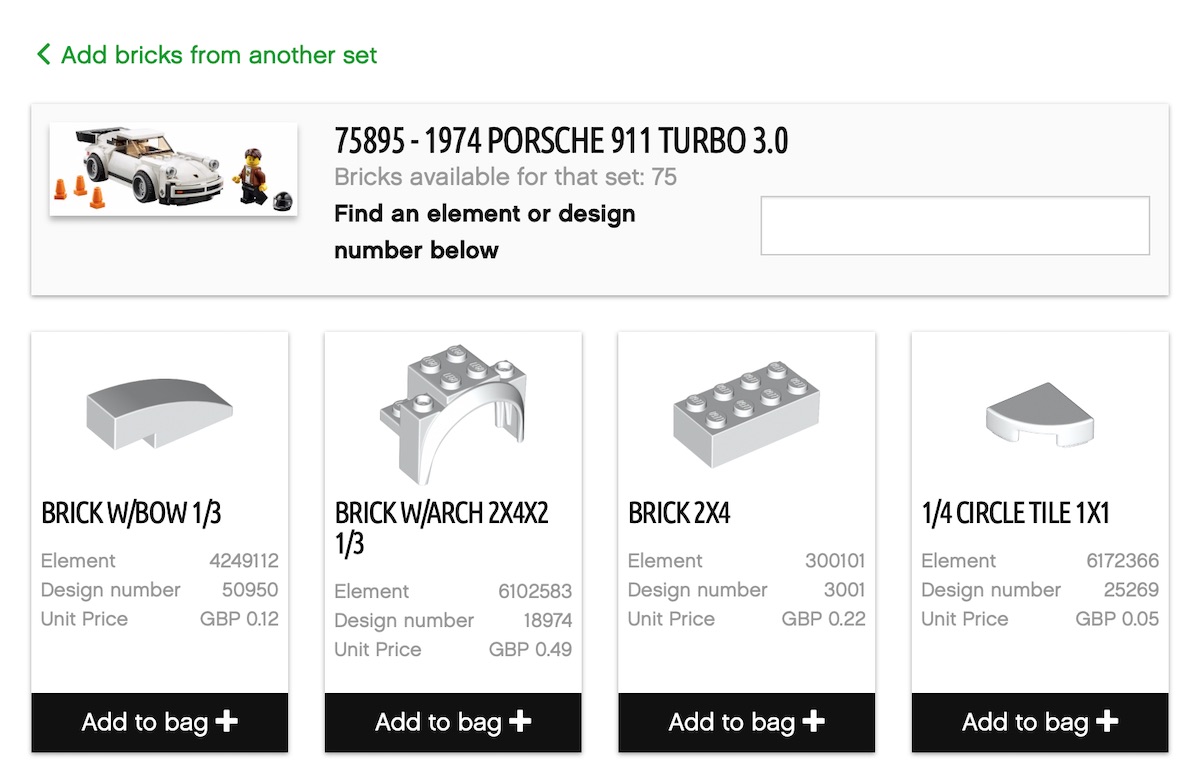
LEGO's Bricks and Pieces service lets you order replacement parts for existing set numbers. When you're customizing, or building a MOC this can be super useful to find element numbers, design numbers, colours or just part names.
If you're building from LEGO instructions as I was, it's useful to remember that copy and paste works for duplicating components - where the instructions ask for 3 or 6 of a particular piece, you can simply copy and paste rather than drag them out. Likewise when repeating steps in the instructions you can sometimes copy and paste the whole arranged set of components and just rotate it rather than having to build it twice.
When building Speed Champions sets in Studio, an obvious downside is that you can't place any stickers (as the focus is on building and producing LEGO sets). So for sets that really need their stickers to look realistic the output won't look as much like the real set. Luckily the 911 is a good set to choose for this - it looks realistic even without stickers.
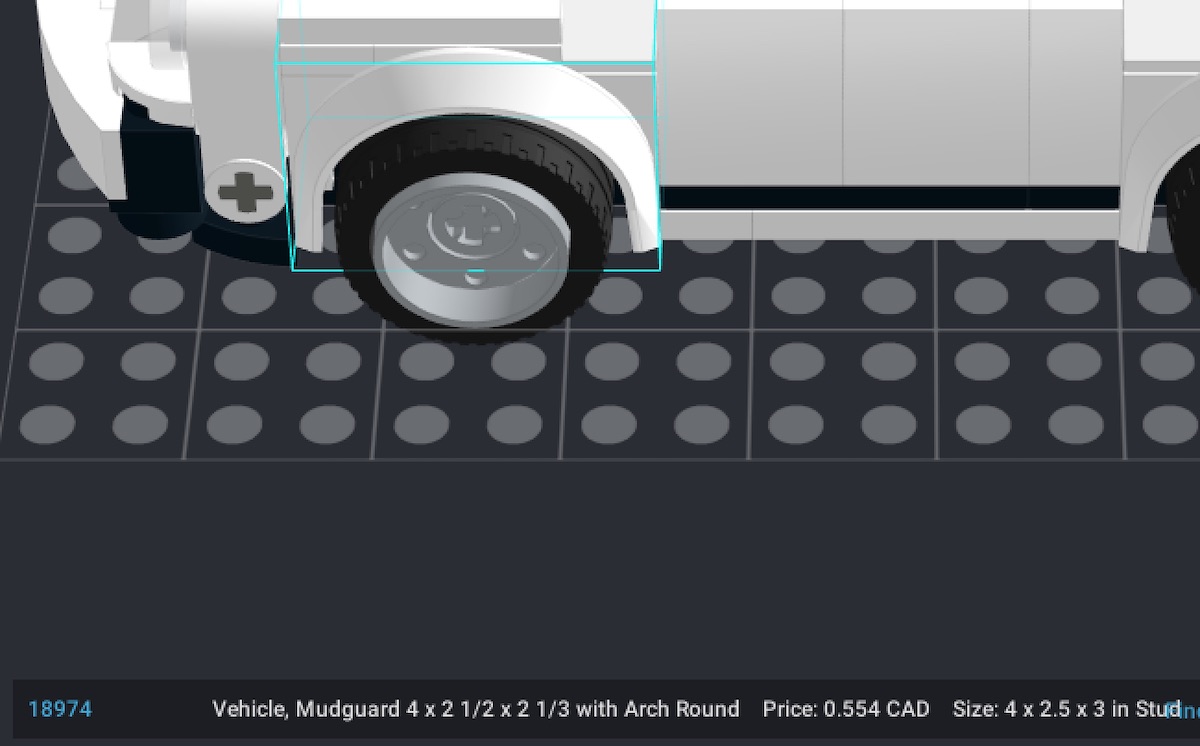
Studio shows you the price per component when you're picking and selecting on the model - useful if you're trying to be cost conscious or avoid rare pieces.
At all times in Studio you can see the average price of the brick you're using, and it actually lets you get a cost to buy all the bricks in the model directly from BrickLink. We'll be using this feature and the BrickLink market soon for some custom builds so we'll let you know how easy that is.
A great feature of Studio is that you can produce extremely realistic renders to check out your virtual creations - you've been seeing one or two of them as the illustrations for this article. The renders are high quality, can simulate UV damage to the bricks for aging and even add scratches to individual bricks. A warning though - rendering can be intensive. I found it was taking between 15 and 30 minutes for renders on a relatively modern quad-core laptop.
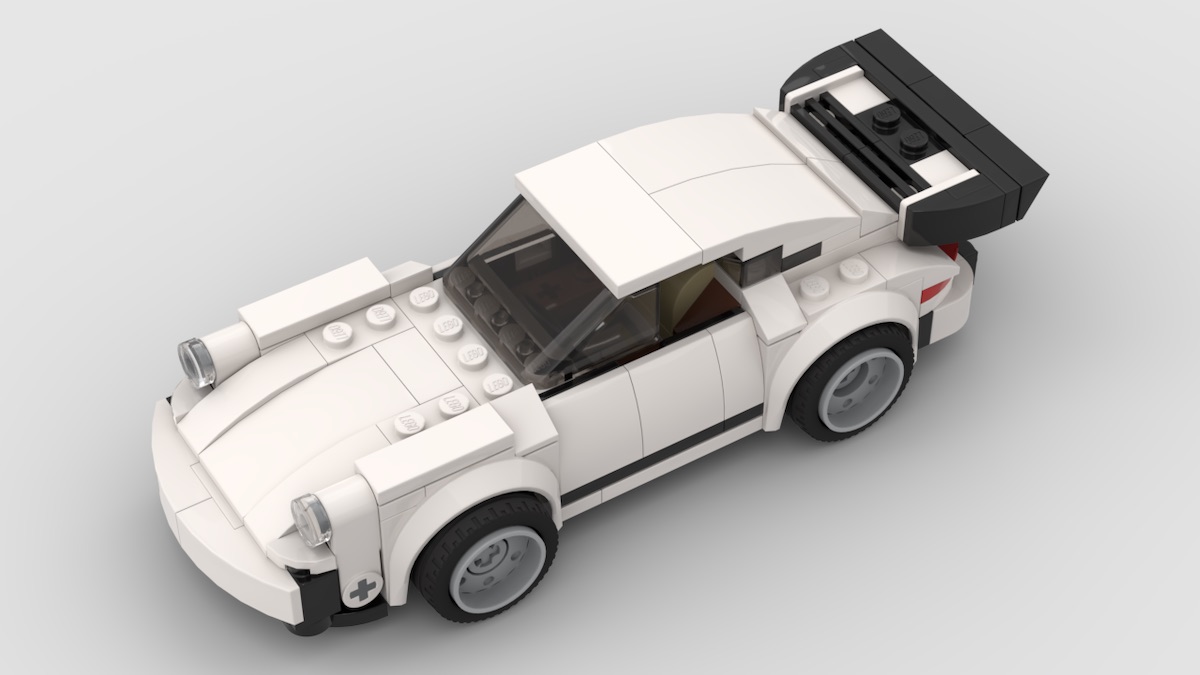
The finished product of all that virtual building, a (very high) quality render of the '74 Porsche 911 Turbo 3.0, Speed Champions set 75895.
Once a set is built in Studio, and the show only bricks in available colours setting is enabled, it's great for colour change Mocs as you can find the exterior pieces you can’t get in certain colours thanks to the BrickLink integration. It really makes establishing the possible colourways for a model more straightforward when you can find the piece or two that are only available in a few colours out of the model.
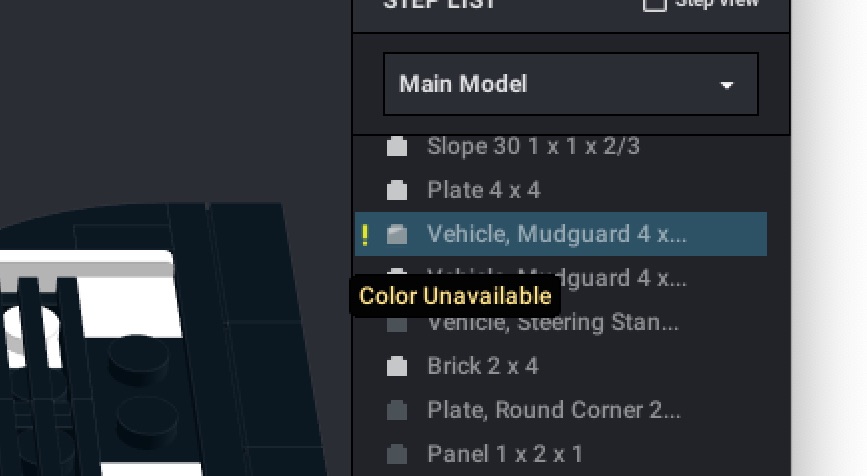
BrickLink Studio showing an exclamation point to let you know the piece and colour selection isn't actually available in real life. You can also set Studio to only allow choosing colours that exist, which typically stops this happening.
A challenge with using Studio for MOCS is once you've modified a set, finding just the parts you need to order to customize the original model. Naturally, the cheapest way to get the majority of parts for a Speed Champions model is to buy the original set in a store. My virtually built 1974 Porsche 911 Turbo 3.0 was coming out to CAD$ 37 bought as individual bricks from BrickLink, versus the same set on shelf for CAD$ 20 including stickers. What we're really looking for is just the changed/additional parts required to be ordered to build the model in combination with the original set - we'll see how easy this is with a bit more care when changing the model in Studio.
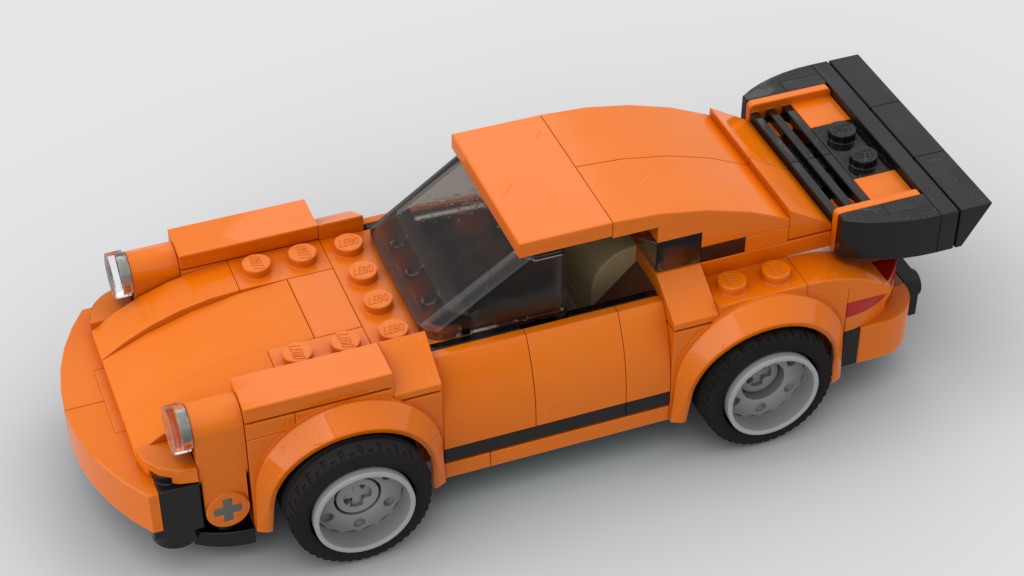
This Orange MOC of the '74 Porsche 911 Turbo 3.0 Speed Champions set was quick to create virtually. We found a few pieces that had to be coloured 'Dark Orange' instead thanks to Studio's availability checker. The model still looks great though, we'd totally build it.
Overall Studio is a great substitute for actual building, especially for planning custom builds and MOCs. It's great to have the unlimited potential of building anything with no need to have the bricks to hand. Not quite as satisfying as the real thing though for build experience. We'll be using Studio in the future to come up with some great custom builds, and actually doing some MOC color changes in real life soon so stay tuned.